Login with AWS Cognito
Before we link up our login form with our Amazon Cognito setup let’s grab our Cognito details and load it into our application as a part of it’s config.
Load Cognito Details
 Save the following into
 src/config.js and replace YOUR_COGNITO_USER_POOL_ID and YOUR_COGNITO_APP_CLIENT_ID with the Cognito Pool Id and App Client id from the Create a Cognito user pool chapter.
export default {
  cognito: {
    USER_POOL_ID : 'YOUR_COGNITO_USER_POOL_ID',
    APP_CLIENT_ID : 'YOUR_COGNITO_APP_CLIENT_ID',
  }
};
And to load it into our login form simply import it by adding the following to the header of our Login container in src/containers/Login.js.
import config from '../config.js';
Login to Amazon Cognito
We are going to use the NPM module amazon-cognito-identity-js to login to Cognito.
Install it by running the following in your project root.
$ npm install amazon-cognito-identity-js --save
And include the following in the header of our src/containers/Login.js.
import {
  CognitoUserPool,
  AuthenticationDetails,
  CognitoUser
} from 'amazon-cognito-identity-js';
The login code itself is relatively simple.
Add the following method to src/containers/Login.js as well.
login(username, password) {
  const userPool = new CognitoUserPool({
    UserPoolId: config.cognito.USER_POOL_ID,
    ClientId: config.cognito.APP_CLIENT_ID
  });
  const authenticationData = {
    Username: username,
    Password: password
  };

  const user = new CognitoUser({ Username: username, Pool: userPool });
  const authenticationDetails = new AuthenticationDetails(authenticationData);

  return new Promise((resolve, reject) => (
    user.authenticateUser(authenticationDetails, {
      onSuccess: (result) => resolve(result.getIdToken().getJwtToken()),
      onFailure: (err) => reject(err),
    })
  ));
}
This function does a few things for us:
-
It creates a new
CognitoUserPoolusing the details from our config. And it creates a newCognitoUserusing the username that is passed in. -
It then authenticates our user using the authentication details with the call
user.authenticateUser. If the authentication call is successful we can retrieve a user token that we can then use for our subsequent API calls. -
Since, the login call is asynchronous we return a
Promiseobject. This way we can call this method directly and simply get the user token in return without fidgeting with callbacks.
Trigger Login onSubmit
To connect the above login method to our form simply replace our placeholder handleSubmit method in src/containers/Login.js with the following.
handleSubmit = async (event) => {
  event.preventDefault();

  try {
    const userToken = await this.login(this.state.username, this.state.password);
    alert(userToken);
  }
  catch(e) {
    alert(e);
  }
}
We are doing two things of note here.
-
We grab the
usernameandpasswordfromthis.stateand call ourloginmethod with it. -
We use the
awaitkeyword to invoke theloginmethod and store the userToken that it returns. And to do so we need to label ourhandleSubmitmethod asasync.
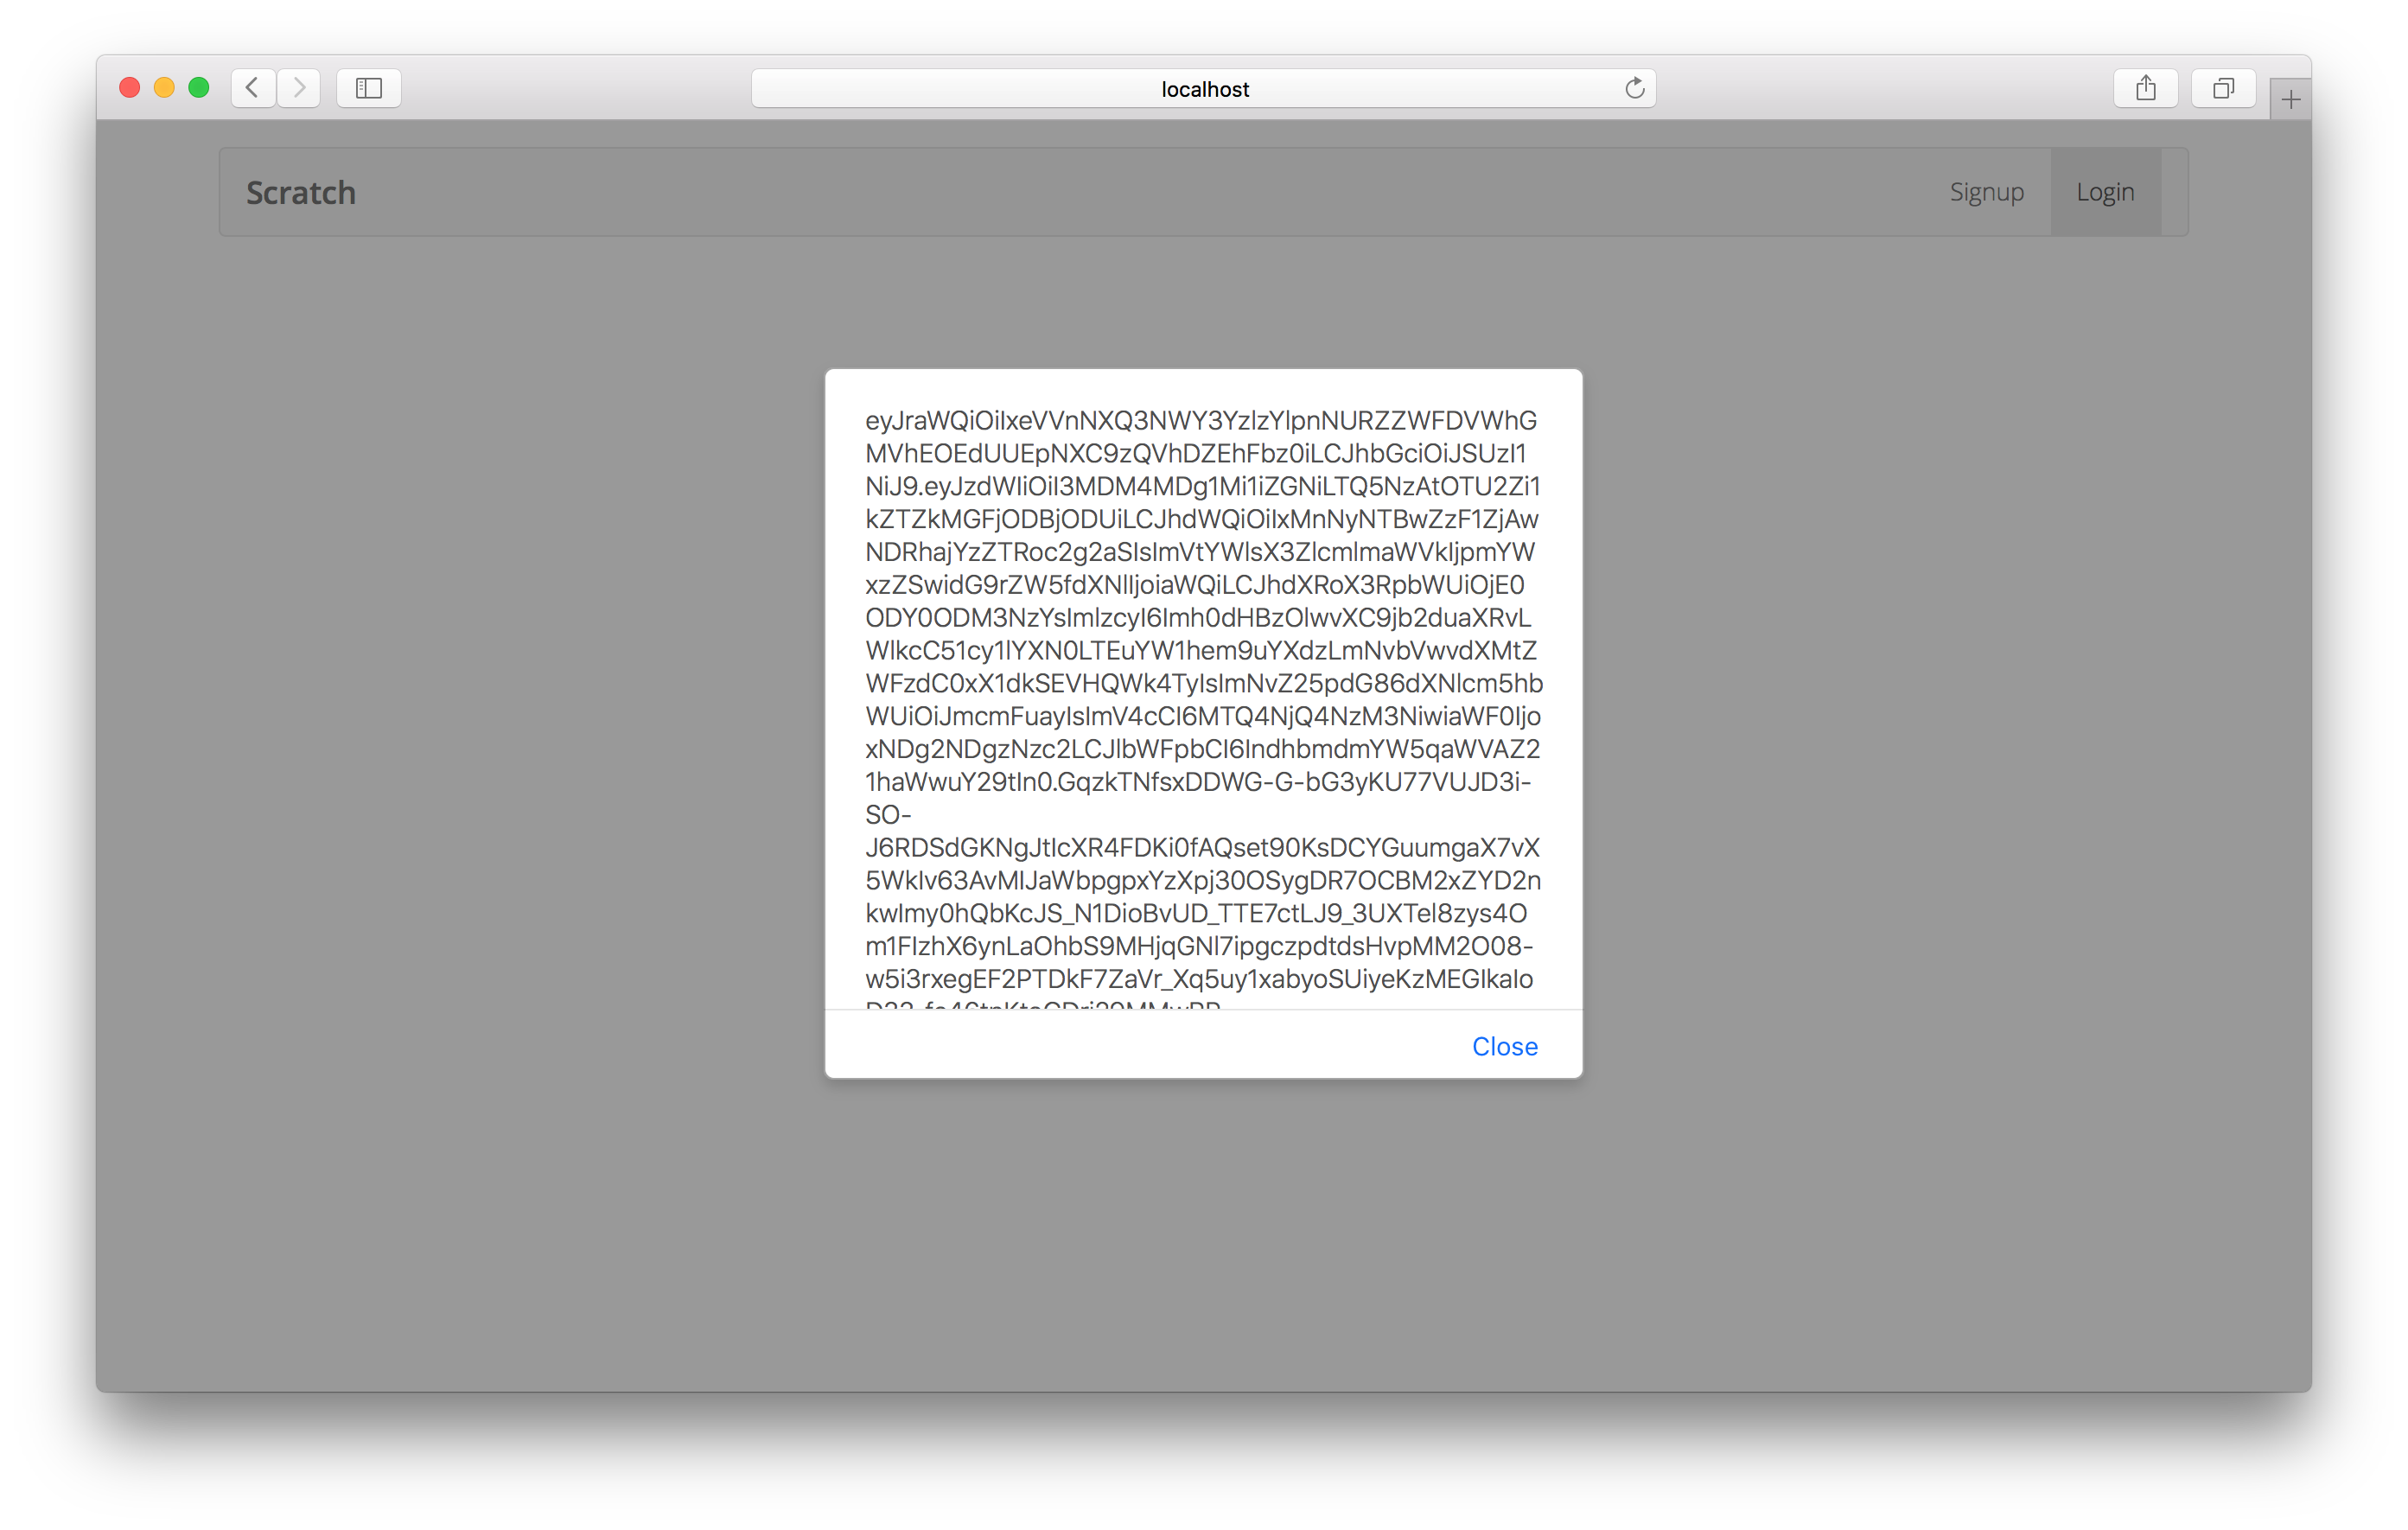
Now if you try to login using the admin@example.com user (that we created in the Create a Cognito Test User chapter), you should see the browser alert with the newly created user token.
Next, we’ll take a look at storing this user token in our app.
If you liked this post, please subscribe to our newsletter and give us a star on GitHub.
For help and discussion
Comments on this chapterFor reference, here is the code so far
Frontend Source :login-with-aws-cognito