Delete a Note
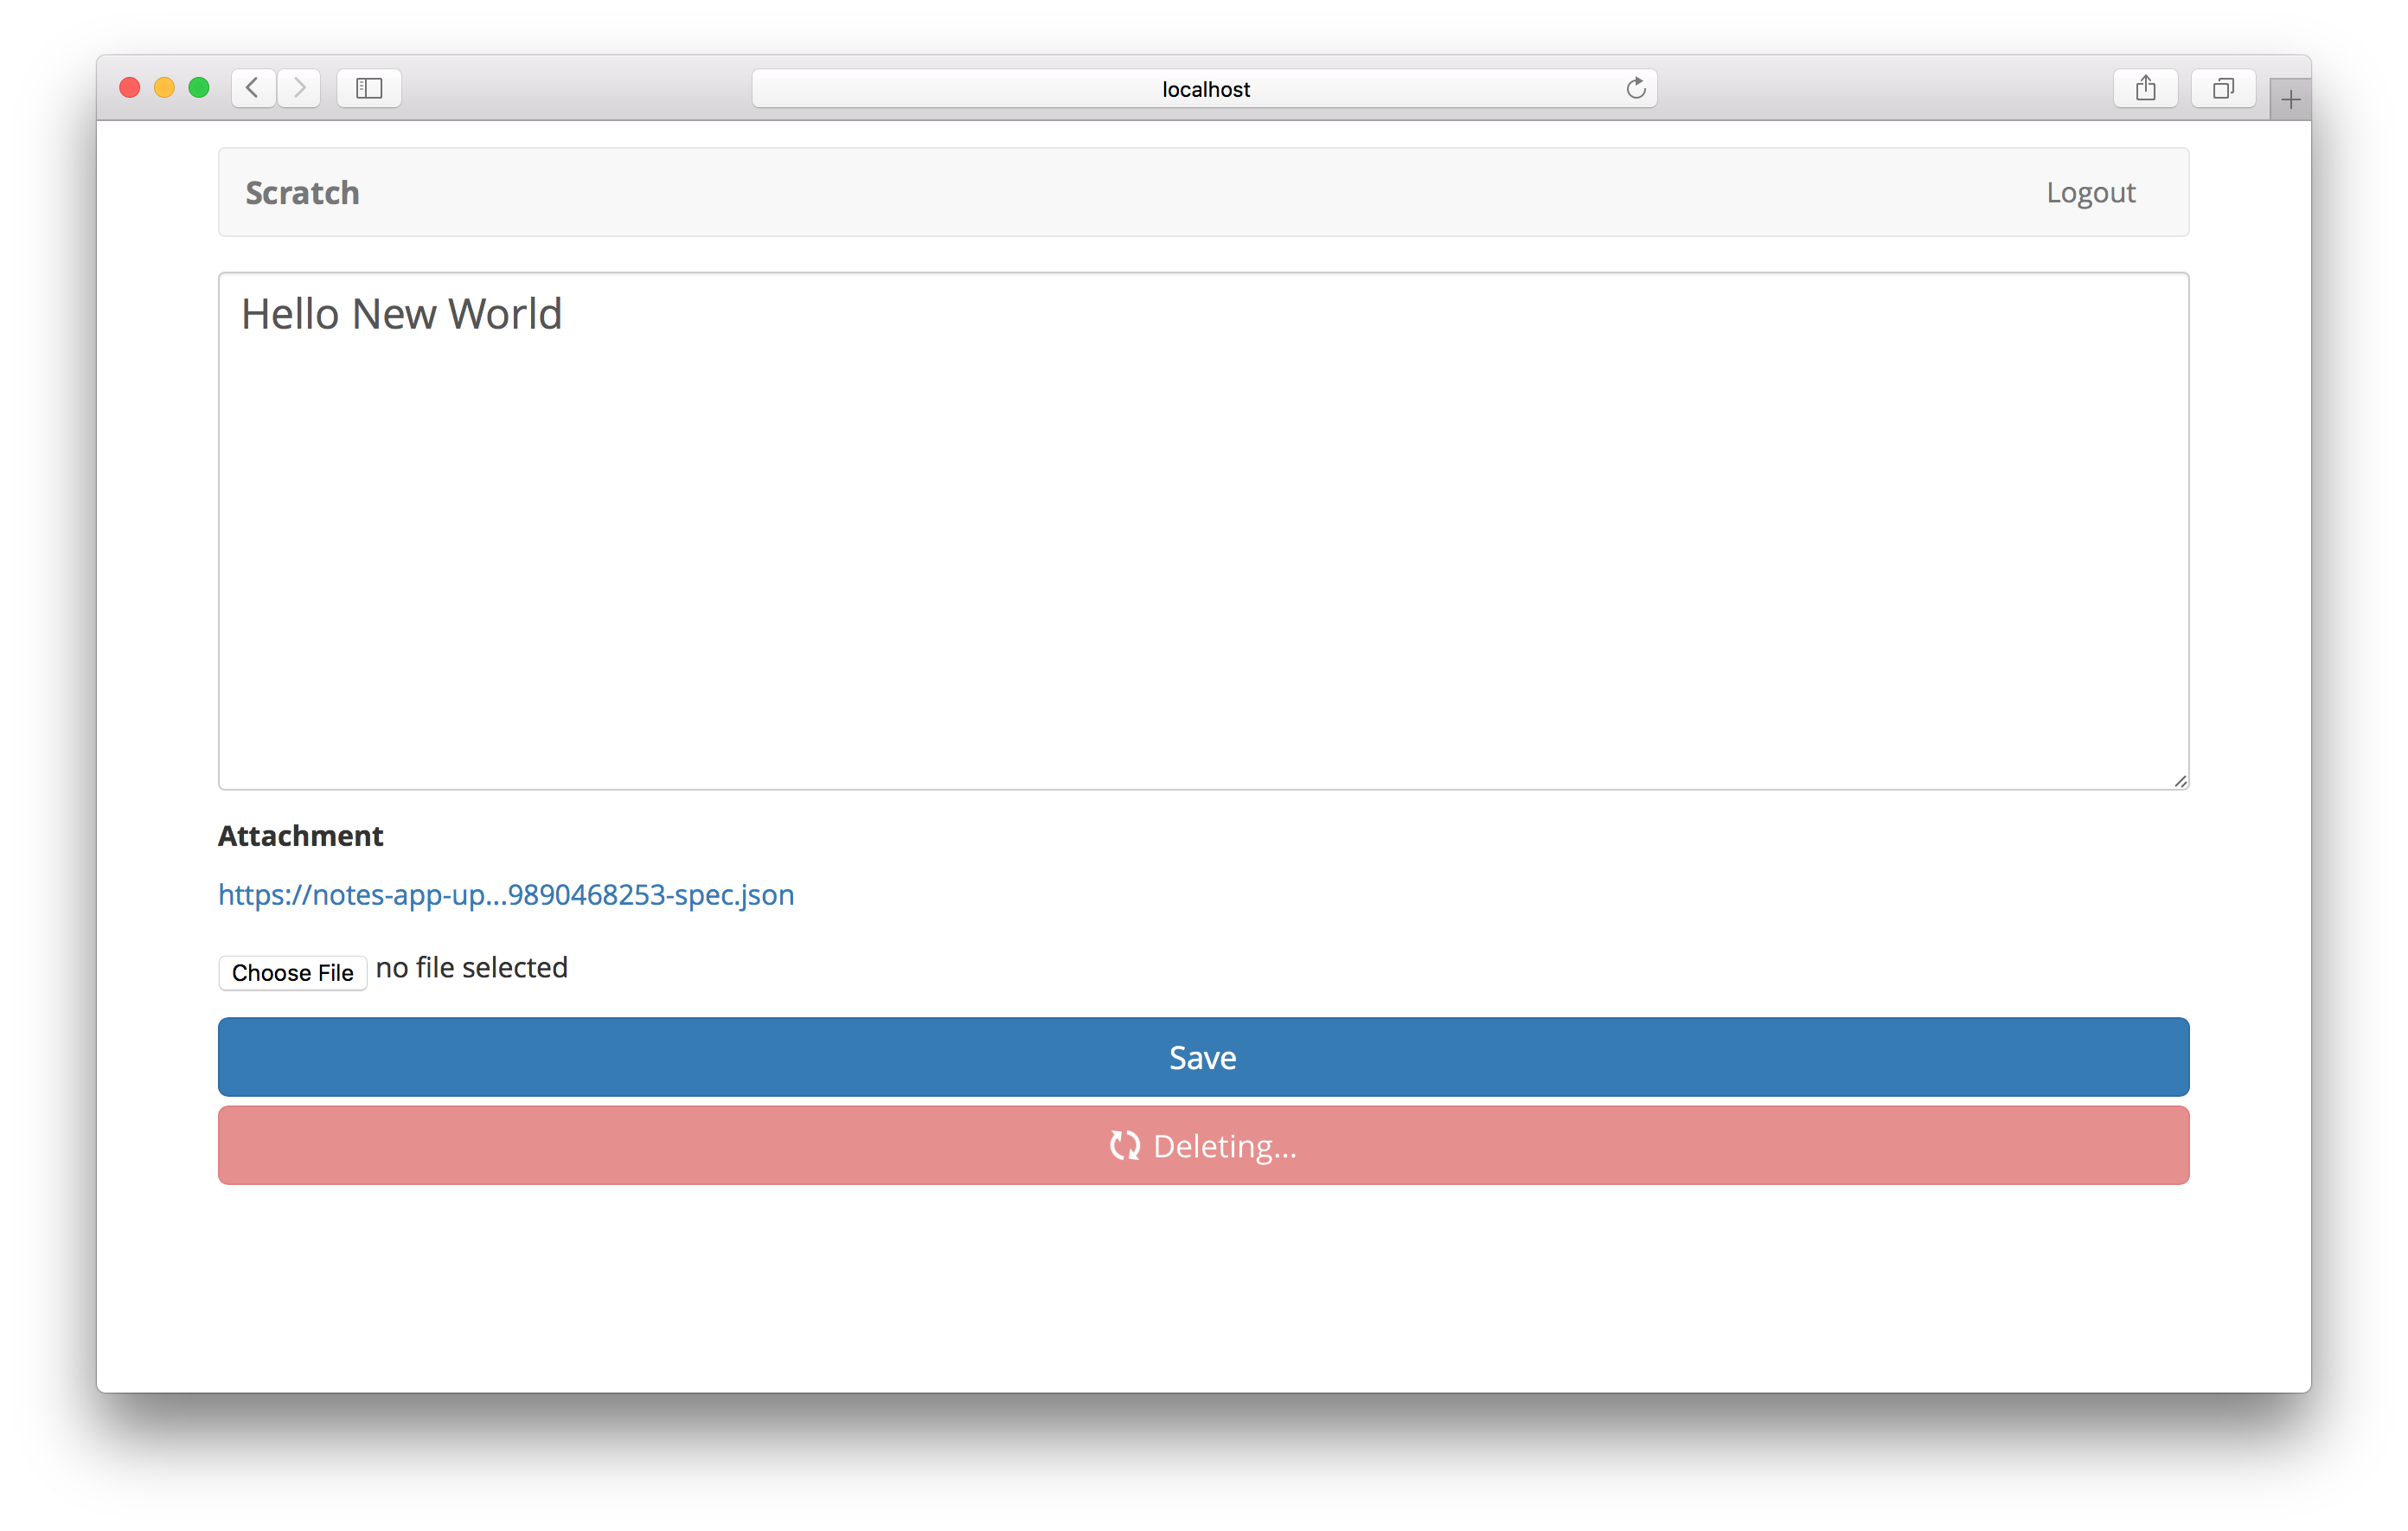
The last thing we need to do on the note page is allowing users to delete their note. We have the button all set up already. All that needs to be done is to hook it up with the API.
 Replace our
 handleDelete method in src/containers/Notes.js.
deleteNote() {
  return invokeApig({
    path: `/notes/${this.props.match.params.id}`,
    method: 'DELETE',
  }, this.props.userToken);
}

handleDelete = async (event) => {
  event.preventDefault();

  const confirmed = window.confirm('Are you sure you want to delete this note?');

  if ( ! confirmed) {
    return;
  }

  this.setState({ isDeleting: true });

  try {
    await this.deleteNote();
    this.props.history.push('/');
  }
  catch(e) {
    alert(e);
    this.setState({ isDeleting: false });
  }
}
We are simply making a DELETE request to /notes/note_id where we get the id from this.props.match.params.id. This calls our delete API and we redirect to the homepage on success.
Now if you switch over to your browser and try deleting a note you should see it confirm your action and then delete the note.

Again, you might have noticed that we are not deleting the attachment when we are deleting a note. We are leaving that up to you to keep things simple. Check the AWS JS SDK Docs on how to a delete file from S3.
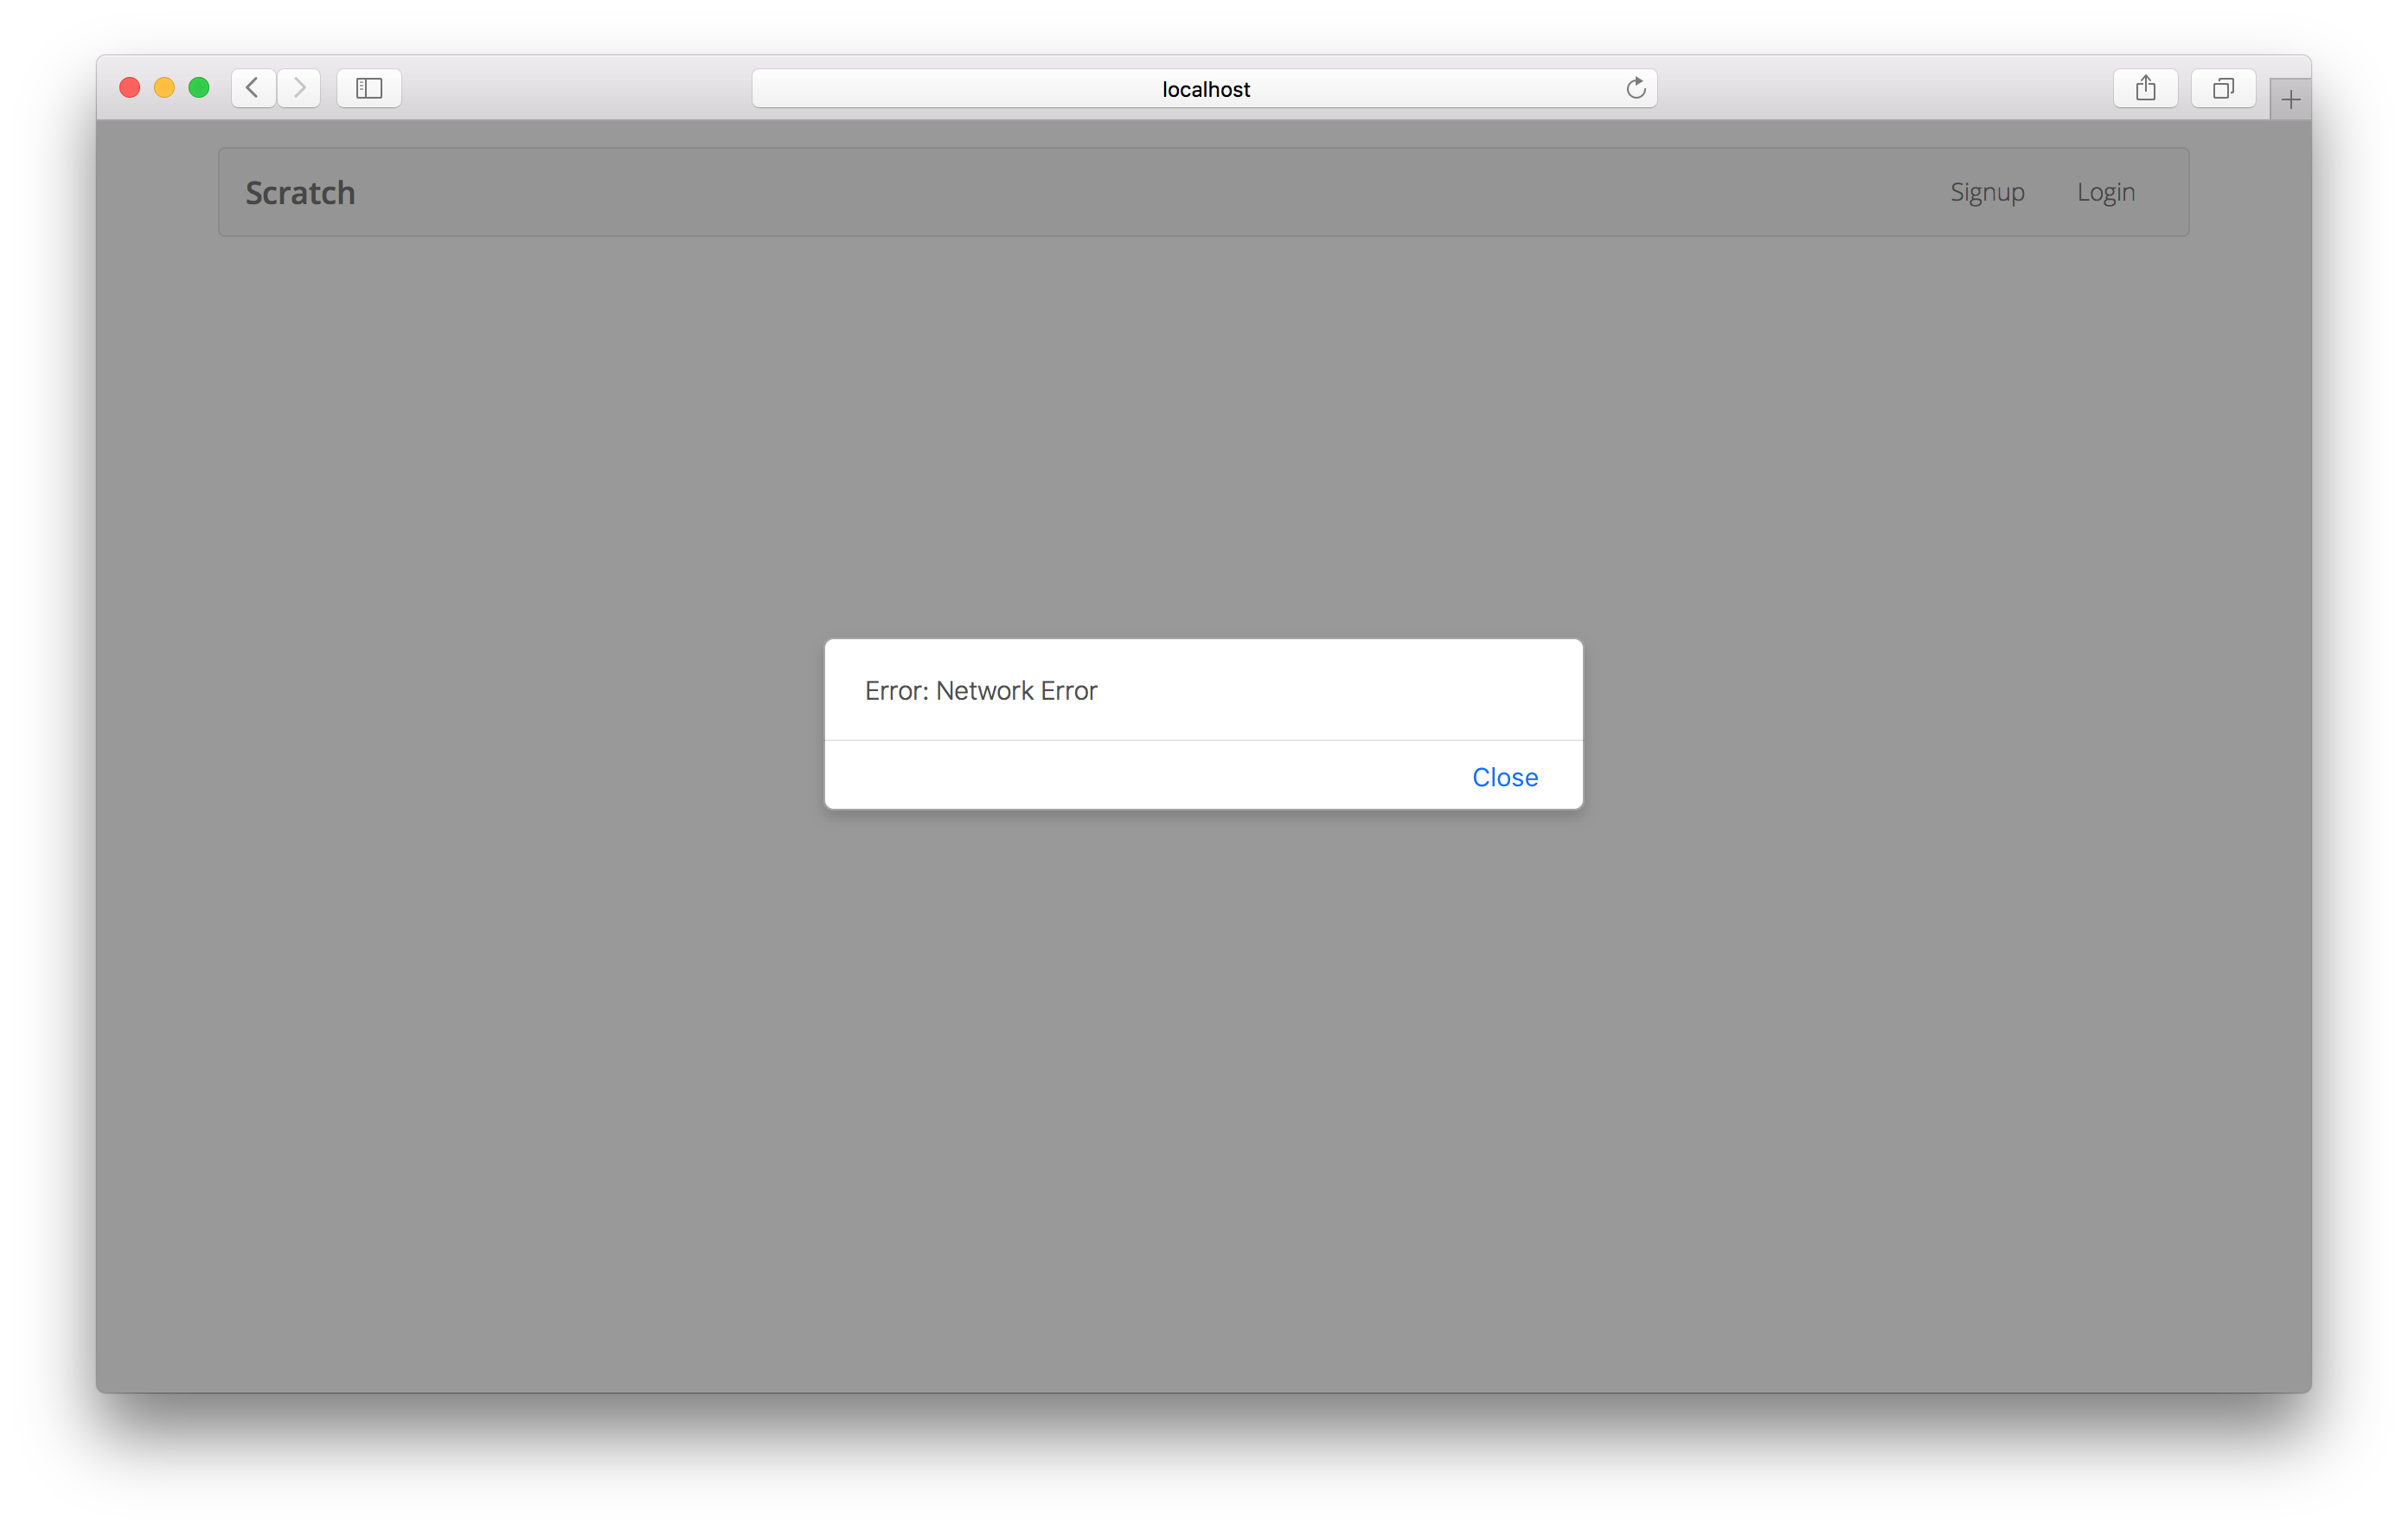
Now with our app nearly complete, we’ll look at securing some the pages of our app that require a login. Currently if you visit a note page while you are logged out, it throws an ugly error.

Instead, we would like it to redirect us to the login page and then redirect us back after we login. Let’s look at how to do that next.
If you liked this post, please subscribe to our newsletter and give us a star on GitHub.
For help and discussion
Comments on this chapterFor reference, here is the code so far
Frontend Source :delete-a-note